
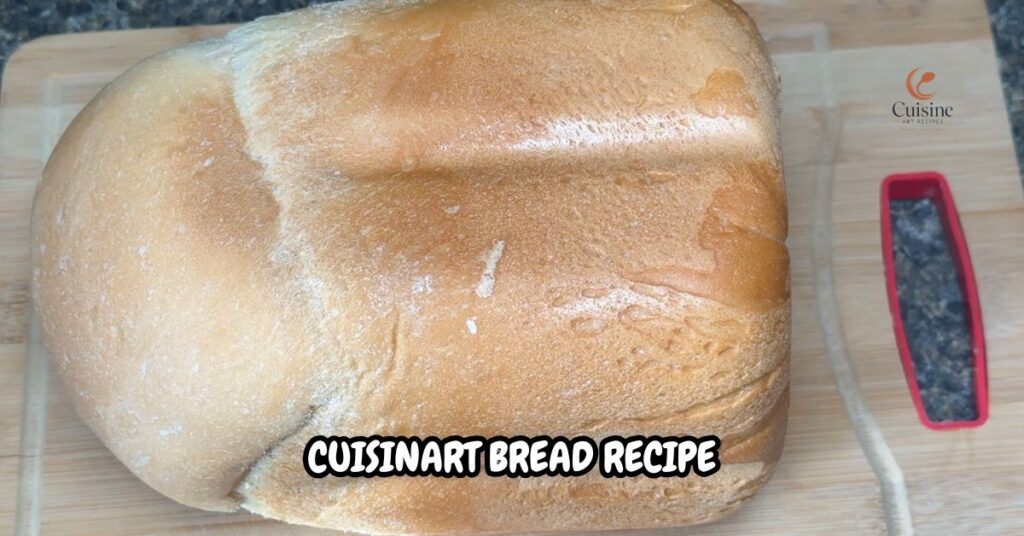
Some bakers insist that bread made in a machine isn’t real bread. Their argument is simple: there’s no hand shaping, the rising time is fixed, and the paddle leaves a hole in the bottom of the loaf. They have a point when it comes to traditional baking methods, but that doesn’t make machine-made bread any less worthwhile.
My own bread-making journey began out of necessity. Last July, our nearest corner shop had sold its last loaf by noon, and I needed bread to make toast for an afternoon snack. That’s when I noticed the CBK-200 bread maker that had been sitting on top of my fridge.
The process turned out to be surprisingly simple. I added the ingredients to the pan in the recommended order, selected the settings, and let the machine take over. It kneaded the dough, allowed it to rise, and baked the loaf without any further help from me.
Why This Recipe Works
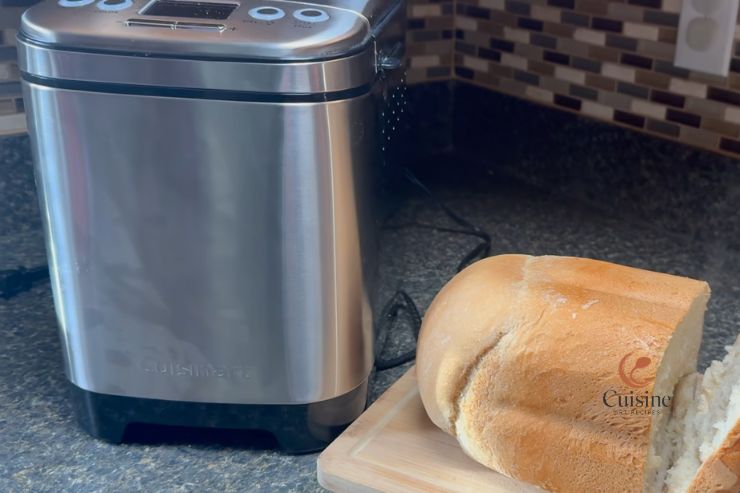
This Cuisinart Bread Recipe follows the basic white loaf from Cuisinart’s CBK-200 recipe book. The CBK-200 is known for its convection fan, a pan that holds a 2-pound loaf, and three crust-color settings.
Most online versions skip the details that matter, so loaves come out squat, with a sunken top or a burnt bottom. Some cooks never learn why their machine loaf looks nothing like the box photo.
The trade-off is a fair one. You give up an open, chewy interior and a crackling crust. In return, you get a square sandwich loaf with no shaping and no oven to preheat. Households that finish a loaf every two days benefit the most.
Why Machine Loaves Sink, Squat, or Hit the Lid
Sunken tops are a common complaint with the CBK-200. Buyers report loaves that collapse, rise too little, or press against the glass. Most cases trace back to how the flour was measured or how old the yeast was.
Flour is the biggest culprit. A scooped cup can pack in up to 20 percent more flour than a spooned one. That extra weight makes a tight dough that cannot rise. I weigh 500 grams, or spoon and level each cup.
Reviewers say a 2-pound loaf can touch the glass and brown unevenly on top. The light crust setting, plus less water on humid days, kept my dome clear of the lid.
Order matters too. Liquids go in first. Flour comes next to last, and the yeast sits on top in a small dent. Unbleached all-purpose flour is enough here. Bread flour only adds a taller dome.
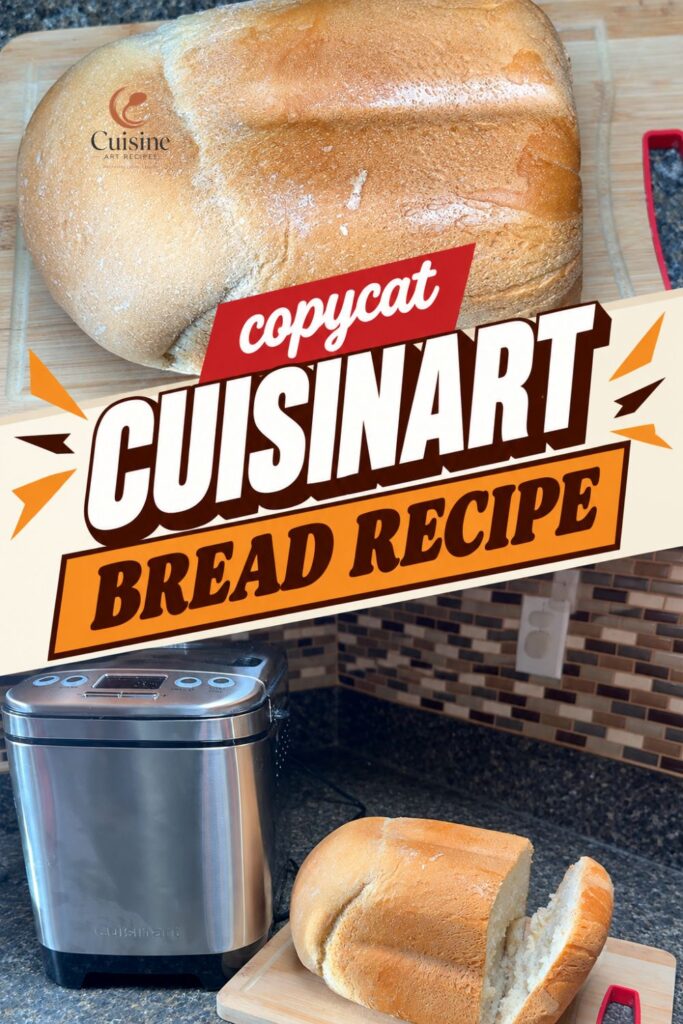
Ingredients for Cuisinart Bread
1½ cups (354 ml) water, at about 72°F: Water hydrates the flour and wakes the yeast. Cold water slows the rise, while hot water pushes the dough past the pan. I measure in a glass jug at eye level.
On sticky, humid days I pull the water back by about a teaspoon. The flour has already soaked up moisture from the air. Whole milk at the same temperature works in place of water and gives a softer, faster-browning crust. Both rise on schedule.
1 tablespoon unsalted butter: Fat coats the gluten strands, so slices stay soft and tear without snapping. Kerrygold is my pick. I cut it into four thin pieces, since cold lumps melt unevenly and can leave greasy streaks in the loaf.
Olive oil works well in place of butter, in the same amount. It gives a slightly chewier crust and no dairy note. Salted butter is fine too. Cut the salt by a scant ¼ teaspoon. Either fat blends in by the first rise.
1 tablespoon granulated sugar: Sugar feeds the yeast early and browns the crust later. Without it, the loaf bakes up pale and the rise drags. Plain white sugar from a supermarket bag is enough, since the amount is too small for brand to matter.
Honey in the same measure gives a darker crust and a faint floral note. Cuisinart’s own book lists it as an option. Reduce the water by about a teaspoon, since honey is wet. Warm the spoon first so it slides off.
1½ teaspoons kosher salt: Salt tightens gluten and slows yeast, so the rise stays even. A loaf without enough salt races up, then caves in. I use Morton. Keep it away from the yeast, since early contact can weaken it.
Fine table salt is denser, so use a scant 1¼ teaspoons. Diamond Crystal is lighter, so use 2½ teaspoons. Too little salt gives a flat-tasting loaf with a weak dome. Measure with a dry spoon, since damp spoons clump salt.
4 cups unbleached all-purpose flour (about 500 g): Flour supplies the protein that forms the gluten net holding the gas. King Arthur gives me steady results. Spoon it into the cup and level the top with a chopstick. Store the bag sealed.
Bread flour in place of all-purpose has more protein, so the loaf rises taller and chews more. Cuisinart’s own book uses bread flour. Up to 1 cup of whole wheat flour can replace some of the white. Add 1 tablespoon of extra water then.
1½ teaspoons active dry yeast: Yeast releases carbon dioxide that stretches the gluten into a light, even rise. Red Star in the jar is my choice. I keep it in the freezer door, because open packets lose strength fast. Date the lid.
Instant or bread machine yeast works at the same amount. Test tired yeast first by stirring a pinch into ¼ cup of warm water with a pinch of sugar. Foam within 8 minutes means it is alive. No foam means a new jar.
Required Kitchen Equipment
- Cuisinart CBK-200 bread maker: 2-pound convection model
- Kneading paddle: ships with the pan
- Digital kitchen scale: exact flour weight
- Measuring cups and spoons: level, never heaped
- Chopstick: levels each cup
- Wire cooling rack: prevents soggy bottoms
- Serrated slicer: cuts without squashing
How to Make Cuisinart Bread
1. Fit the Paddle: Press the kneading paddle onto its post in the bread pan. I once skipped this step and pulled out a dense, unmixed brick three hours later. The paddle should spin freely with a light click when turned by hand. A loose paddle can stay in the loaf, so press until it seats.
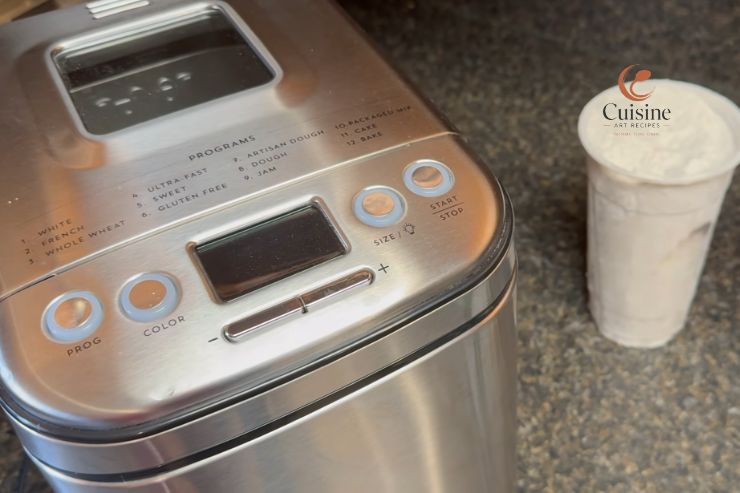
2. Add the Liquids: Pour in 1½ cups of water at about 72°F. Add the butter pieces, then the sugar and salt. Keep each one in its own spot. The water should sit still and cloudy, with butter floating on top. Tiny bubbles from the pour are normal.
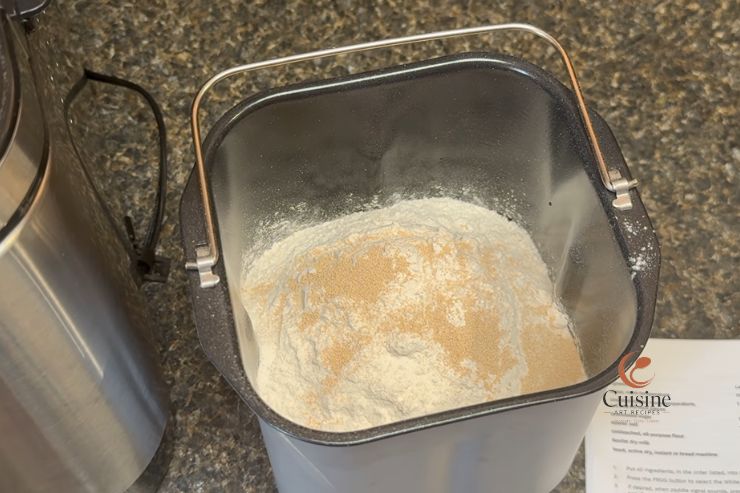
3. Spoon In the Flour: Spoon in 4 cups of flour, one cup at a time. Level each cup with a chopstick. Cover the liquid completely so none of it shows. Look for a flat flour surface with no wet patches. A dusty edge around the rim is fine.
4. Add the Yeast: Press a small dent into the flour with your finger. Pour 1½ teaspoons of yeast into it. Keep the yeast from touching the water or the salt. The dent should stay dry, with flour walls on every side. Wet yeast clumps early and weakens the rise.
5. Lock and Select: Set the pan in the machine and turn it until it locks. Close the lid. Choose Basic, then the 2-pound size, then light crust. Press Start. The display begins a countdown from about 3 hours. Kneading noise starts within a minute.
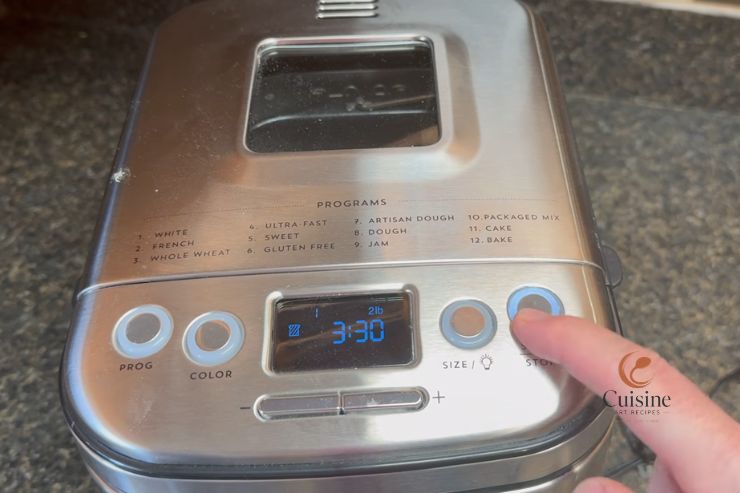
6. Check the dough: About 10 minutes into kneading, peek through the glass. The dough should form one smooth ball that clears the sides of the pan. A sticky dough that slumps needs 1 tablespoon of flour. A dry, shaggy ball needs 1 tablespoon of water. Open the lid, add it, and let the paddle work it in for 2 minutes.
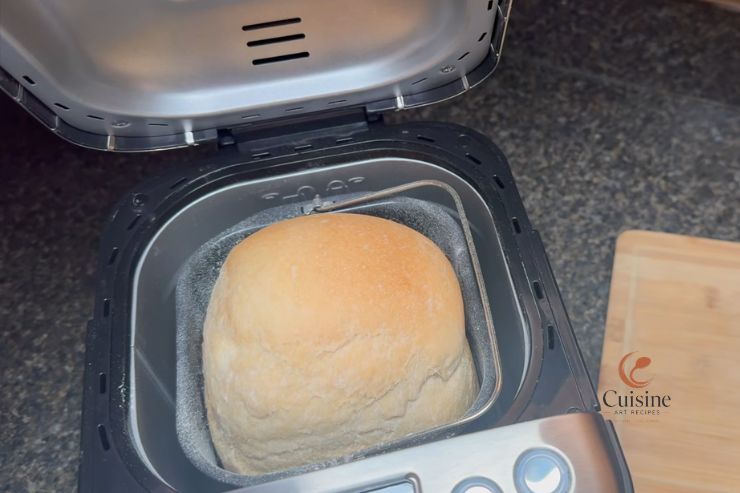
7. Leave the Lid Shut: Keep the lid closed through the rise and the bake. Opened lids let heat escape and can deflate the dome. By the last rise, the dome should sit a thumb-width below the glass. The kitchen smells of baking bread toward the end.
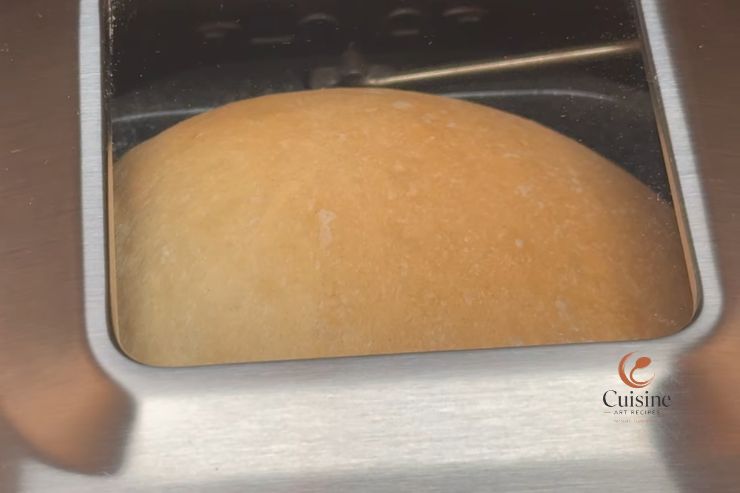
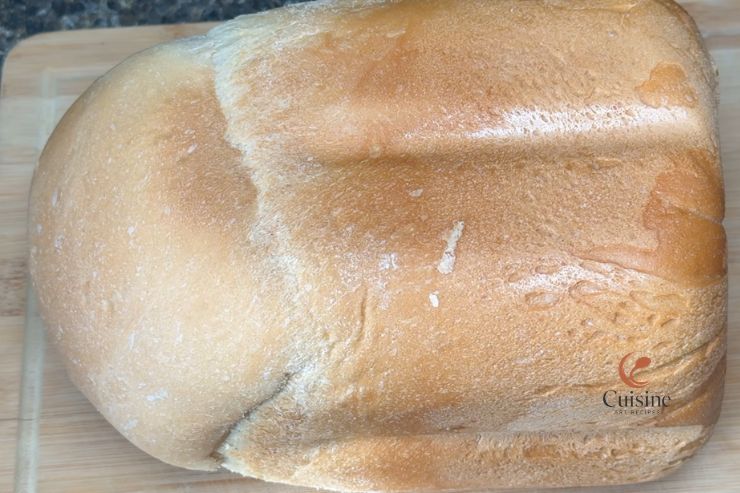
8. Cool the Loaf: When the beep sounds, wear mitts and tip the loaf onto a wire rack. Pull the paddle out with a wooden spoon should it stay inside. Cool for 45 minutes before slicing. The crust should look golden and sound hollow when tapped underneath.
Chef Special Tips for Cuisinart Bread
1. Crater Top: A sunken crater after baking means too much water. Trim 2 teaspoons next time.
2. Scorched Bottom: Several owners report hard browning on 2-pound cycles. Step down to the 1 1/2-pound size.
3. Torn Bottom: A chunk of loaf stuck to the paddle post means the post was dry. Rub a drop of oil on it before step 1.
4. Creeping Machine: Kneading can move the base. Set it on a rubber shelf liner.
5. Strong Yeast Smell: A sharp, yeasty tang means too much yeast. Cut it by 1/8 teaspoon.
6. Stuck Loaf: Shake the pan gently, then loosen the sides with a silicone spatula.
How I Customize This Cuisinart Bread
Honey Oat Loaf: Swap the sugar for honey and replace ½ cup of flour with old-fashioned oats. The oats add chew, and the honey darkens the crust. I toast slices for peanut butter breakfasts.
Cinnamon Raisin: Stir 1½ teaspoons cinnamon into the flour. Add ½ cup raisins at the add-in beep so they stay whole. It becomes French toast on Sunday mornings.
Rosemary Garlic: Add 2 teaspoons dried rosemary and a scant teaspoon of garlic powder with the flour. The rosemary scents the whole loaf as it bakes. I serve it beside soup.
Half Whole Wheat: Replace 1 cup of flour with whole wheat and add 1 tablespoon of water. The bran gives a nutty note and a closer slice. I pack it for turkey dish.
Sunflower Seed: Add ¼ cup raw sunflower seeds at the beep. They soften slightly and add crunch to each slice. Sharp cheddar goes well with it.
Soft Milk Loaf: Add ¼ cup nonfat dry milk, as Cuisinart’s own book does. The milk sugars brown the crust faster and soften the slice.
What I Serve With Cuisinart Bread
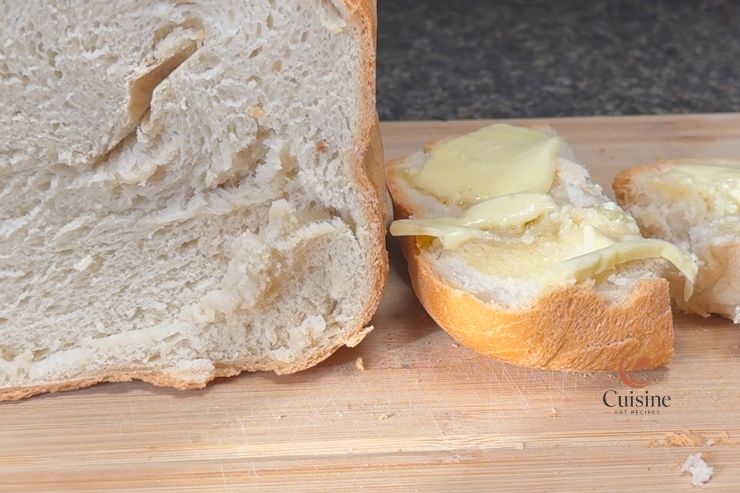
Warm slices need only salted butter and a spoon of plum jam. Slices cut after the 45-minute rest hold their butter without tearing. For a savory version, I rub a cut garlic clove on toasted slices.
For sandwiches, egg salad with sliced cucumber works best. The tight, even interior holds the filling without leaking. Grilled cheese in a cast-iron pan browns in about 4 minutes per side, with sharp cheddar melted to the edge.
Toasted slices are the best tool for dunking into a bowl of tomato soup. Day-old slices also soak up a runny fried yolk without falling apart. Mashed avocado with chili flakes sits well on a thick slice, with a squeeze of lime.
My Friday dinner follows a pattern. Tomato soup simmers while the loaf cools. Grilled cheese sandwiches come next, then sliced apples with peanut butter. Leftover heels become croutons for Saturday’s salad. My niece eats the first slice before it reaches the table.
How I Store Cuisinart Bread
Wait until the loaf feels cool on every side before bagging it. Warm bread sweats inside plastic and turns the crust soft. A paper bag inside a bread box keeps slices good for 3 days.
Convection baking dries the crust a little. I wrap the cut end in a clean cotton towel to slow that. Skip the fridge, which stales bread faster than a counter does. Resting the loaf cut-side down on a board also helps.
For longer storage, slice the loaf and freeze it in a zip bag with parchment between slices. Slices keep for 3 months. Toast them straight from frozen, about 2 minutes on a medium setting.
A firm slice can be revived. Wrap it in foil and bake at 350°F for 6 minutes. A damp paper towel under the foil adds steam for slices that feel dry. Refresh only what you will eat, since a second reheat dries them.
Cuisinart Bread FAQs
1. Can I use the delay timer?
Yes. The CBK-200 delays a start by up to 12 hours. This dough has no eggs or fresh milk to spoil. Keep the yeast in its dry dent, away from the liquid. Load it in the evening for a fresh loaf at breakfast.
2. How do I scale it to the 1½ pound size?
Cut each amount by a quarter. Use 3 cups of flour and 1 cup plus 2 tablespoons of water. Add 1⅛ teaspoons each of yeast and salt. Use 2¼ teaspoons each of butter and sugar.
3. How do I avoid the paddle hole?
Cuisinart’s own book suggests pulling the dough at the paddle signal. Remove the paddle, reshape the dough, and set it back in the pan. The hole shrinks to a small dimple.
4. How do I clean the pan?
Soak it in warm soapy water for 15 minutes. Use a soft sponge. Metal tools scratch the nonstick coating, so keep steel forks and spatulas away from the pan. Dry it fully before the next use.
5. What changes in a hot kitchen?
Heat speeds the yeast. At 33°C I use water straight from the fridge jug. The dome stayed under the glass in that heat, and the loaf kept an even color.
6. How do I slice evenly?
Lay the loaf on its side. Use a serrated slicer with long, light strokes. Aim for slices about 1.5 cm thick, and rotate the loaf a quarter turn between cuts.
7. Can I add herbs without the add-in beep?
Yes. Mix dried herbs into the flour before it goes in the pan. Fresh herbs add water, so use 2 tablespoons chopped and cut the water by a teaspoon.
8. Why does the loaf lean to one side?
Uneven dough clumped to one side during kneading. At the 10-minute check, nudge it to the center with a silicone spatula. The next loaf should bake level.
9. Can I use the dough cycle for pizza?
Yes. Owners report good pizza dough from the Dough cycle. Follow the pizza recipe in the Cuisinart book. This loaf formula is built for bread, not a thin base.
Cuisinart Bread Recipe
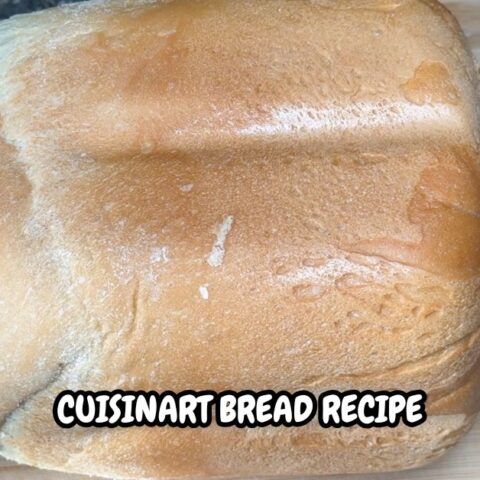
Cuisinart Bread Recipe with 6 pantry ingredients and a flour-weighing fix for sunken tops. Loads in 5 minutes, then bakes hands-off.
Ingredients
- 1½ cups water, at about 72°F
- 1 tablespoon unsalted butter
- 1 tablespoon granulated sugar
- 1½ teaspoons kosher salt
- 4 cups unbleached all-purpose flour
- 1½ teaspoons active dry yeast
Instructions
- Press the kneading paddle onto its post in the bread pan. I once skipped this step and pulled out a dense, unmixed brick three hours later. The paddle should spin freely with a light click when turned by hand. A loose paddle can stay in the loaf, so press until it seats.
- Pour in 1½ cups of water at about 72°F. Add the butter pieces, then the sugar and salt. Keep each one in its own spot. The water should sit still and cloudy, with butter floating on top. Tiny bubbles from the pour are normal.
- Spoon in 4 cups of flour, one cup at a time. Level each cup with a chopstick. Cover the liquid completely so none of it shows. Look for a flat flour surface with no wet patches. A dusty edge around the rim is fine.
- Press a small dent into the flour with your finger. Pour 1½ teaspoons of yeast into it. Keep the yeast from touching the water or the salt. The dent should stay dry, with flour walls on every side. Wet yeast clumps early and weakens the rise.
- Set the pan in the machine and turn it until it locks. Close the lid. Choose Basic, then the 2-pound size, then light crust. Press Start. The display begins a countdown from about 3 hours. Kneading noise starts within a minute.
- About 10 minutes into kneading, peek through the glass. The dough should form one smooth ball that clears the sides of the pan. A sticky dough that slumps needs 1 tablespoon of flour. A dry, shaggy ball needs 1 tablespoon of water. Open the lid, add it, and let the paddle work it in for 2 minutes.
- Keep the lid closed through the rise and the bake. Opened lids let heat escape and can deflate the dome. By the last rise, the dome should sit a thumb-width below the glass. The kitchen smells of baking bread toward the end.
- When the beep sounds, wear mitts and tip the loaf onto a wire rack. Pull the paddle out with a wooden spoon should it stay inside. Cool for 45 minutes before slicing. The crust should look golden and sound hollow when tapped underneath.
Notes
Weigh the flour for the steadiest rise. The 2-pound size can touch the glass, so the light crust setting is my default.
Nutrition Information:
Yield: 14 Serving Size: 1Amount Per Serving: Calories: 140
That CBK-200 now produces a loaf that vanishes by the second morning, usually under peanut butter. The details that kept every slice level were weighing 500 grams of flour and choosing the light crust.
Finally, as some owners note, the machine is loud while kneading. If a bedroom is next to the kitchen, you may want to start the loaf during the day.